10 Steps to Recreate Apple’s Vision Pro Scrolly Animation with Pure CSS
Apple’s product pages are famous for their mesmerizing scrolling animations, often called “scrolly teardowns.” Traditionally, these rely on JavaScript and complex libraries, and they rarely adapt perfectly to different screen sizes. But CSS has evolved dramatically in recent years, introducing powerful features like scroll-driven animations. In this article, we’ll explore how you can recreate the iconic Vision Pro animation using only CSS—and make it responsive. We’ll break down the process into 10 essential steps, from understanding the original animation to solving responsiveness challenges. Whether you’re a CSS enthusiast or a curious developer, these insights will inspire your next interactive project.
1. Understand Apple’s Scrolly Animation DNA
Apple’s animations aren’t just eye candy—they guide the user through a story. On the Vision Pro page, as you scroll, hardware components “explode” outward from the device, then a smooth flip reveals the eyepieces. This interaction feels natural and immersive. Historically, developers used JavaScript—often with libraries like ScrollMagic or GSAP—to synchronize scroll position with animation progress. But these solutions can be bulky, non-responsive, and browser-dependent. CSS now offers scroll-timeline properties that let you tie animations directly to scrolling, opening the door to lighter, more maintainable code. Understanding the original technique helps you appreciate what CSS can achieve today.
2. Embrace the New CSS Scroll-Driven Animations
The CSS scroll-timeline and animation-timeline properties are game-changers. They allow you to define an animation that progresses based on the scroll position of a container or the document itself. For the Vision Pro effect, you can create a timeline that triggers as the user scrolls through a specific viewport range. While browser support is still growing (Firefox lagged at the time of writing), Chrome and Edge fully support these features. Combine them with position: sticky and clip-path transitions for advanced effects. This approach eliminates the need for a single line of JavaScript, making your code cleaner and more performant.
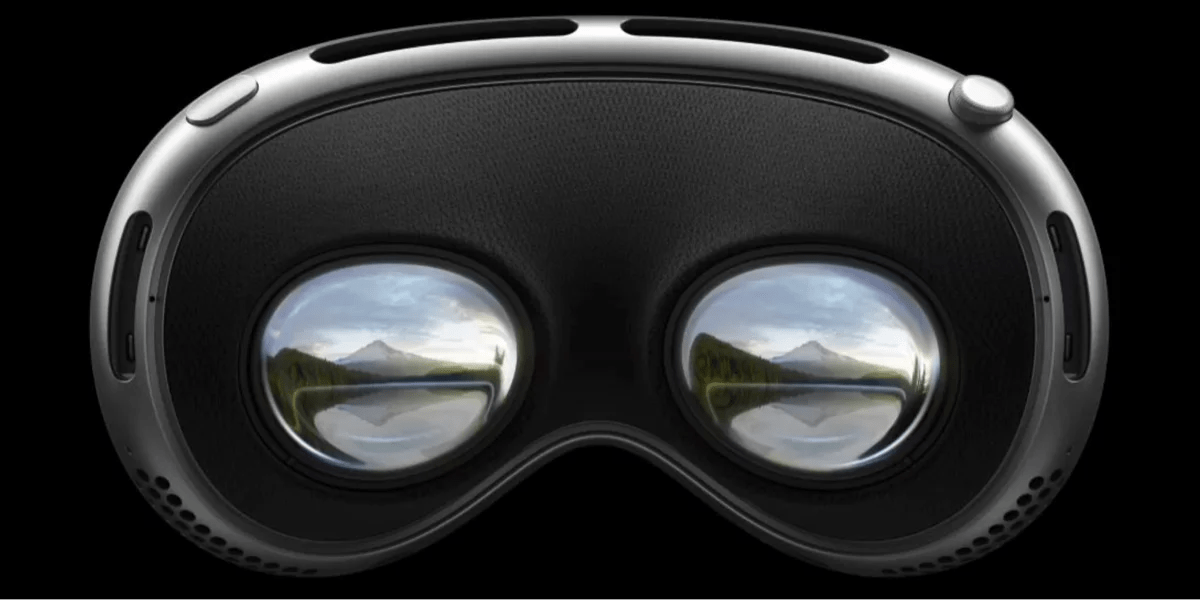
3. Deconstruct the Vision Pro Animation: Two Major Stages
The original animation consists of two distinct phases. Stage 1 – “Exploding Hardware” – shows three layered components rising from the device at different speeds. Stage 2 – “Flip-Up to Eyepieces” – smoothly rotates the entire device to reveal the inner lenses. Apple used a video for Stage 2, advanced by JavaScript as the user scrolled. For our CSS recreation, we’ll handle Stage 1 with layered images and use a clever combination of transforms for Stage 2. Recognizing these stages helps you plan your markup and CSS structure from the start.
4. Stage 1 Part A: The Three Layered Components
Apple’s animation uses six transparent PNG images to create three components: an outer shell (like a sub roll), an intermediate layer (like a hot dog bun), and an inner core (like a bread stick). Each component is actually two images—one that appears in front of the layer below and one behind. This creates an illusion of depth, as transparent areas let background layers show through. In CSS, we can stack these images in a container using absolute positioning and animate each pair’s scroll-driven movement. The key is to ensure each image moves at a different rate (parallax-like) to simulate the “exploding” effect.
5. Stage 1 Part B: Crafting the Depth Illusion
To achieve the 3D effect, the outermost component’s front and back images must be positioned so that the back image sits behind the intermediate layer and the front image sits in front. Similarly, the intermediate layer wraps the innermost component. CSS z-index and careful ordering of HTML elements make this work. Transparent areas in each image enable the visual stacking. For a seamless experience, animate the transform (e.g., translateY) of each image pair based on scroll progress. Using animation-range with a scroll-timeline ensures the movement stays confined to the viewport area where the animation is visible.
6. Stage 2: Recreating the Flip-Up Motion Without Video
Apple used a video for the flip-up phase, but CSS can simulate it with a combination of rotate3d and scale transforms. As the user scrolls past a certain point, the entire device container rotates around its horizontal axis, transitioning from a front-facing view to a top-down view that reveals the eyepieces. You can use a scroll-driven animation with animation-timeline to control the rotation angle. To mimic the video’s smoothness, apply a custom easing function. This approach not only avoids loading a video file but also keeps the experience responsive and lightweight.
7. Harvesting and Preparing the Image Assets
Since Apple’s images are publicly available on their site, you can download the six PNGs for personal experimentation. (Always respect copyright for production use.) Store them as background images on div elements rather than background-position: bottom center and background-size: contain to keep the components anchored at the bottom of the viewport as they rise. This technique, borrowed directly from Apple’s implementation, ensures consistency regardless of viewport width—a crucial step toward responsiveness.
8. Solving the Responsiveness Puzzle
Apple’s version switches to a static image on small screens, but with CSS you can maintain the animation. The challenge: using position: fixed for the images keeps them on screen but breaks responsiveness because they are sized relative to the initial viewport. Instead, use a combination of vw and vh units or a container with aspect-ratio and object-fit equivalent. Set max-width: 100% on the container and let the images scale down. Use scroll-timeline with view() to trigger animation only when the element is in view, ensuring it works on any device.
9. Putting It All Together: Code Structure and Debugging Tips
Start with a single HTML structure: a sticky container holding a wrapper with all image layers. Use CSS Grid or absolute positioning to stack elements. Define a @keyframes animation for each component that moves from bottom to top, then attach it to the container via animation-timeline: scroll(). For Stage 2, add a separate keyframe for the flip. Test in Chrome first, then check Edge. For Firefox, you may need a polyfill or fallback (e.g., static image). Use browser DevTools to inspect scroll-timeline ranges and adjust animation-range values until the motion matches Apple’s original.
10. Final Touches and Future-Proofing
Once both stages work, fine-tune the easing curves, durations, and scroll ranges to mimic Apple’s polished feel. Add a prefers-reduced-motion media query to disable animations for accessibility. Since CSS scroll-driven animations are still evolving, keep an eye on browser support updates. When Firefox eventually supports scroll-timeline, your code will work everywhere. This project demonstrates the power of modern CSS and proves that you can create complex, responsive, JavaScript-free animations that once required heavy libraries. Experiment with other product pages—you might be surprised what CSS can do today.
By following these 10 steps, you can recreate Apple’s Vision Pro animation in pure CSS, gaining a deeper understanding of scroll-driven interactions. While challenges remain—especially cross-browser consistency—the result is a lightweight, responsive, and impressive showcase of CSS capabilities. Start with Stage 1, master the layering, then tackle the flip-up. Your users will never know you didn’t use a single line of JavaScript.